Using the App
Two Android apps are available for Stickies, both distributed as APKs from our GitHub repo rather than the Play Store:
- the Companion App — the full-featured app for running preconfigured tasks or building your own, with reconfigurable sensing and feedback policies; and
- the Debugger App — a lightweight tool for quick sensing signal visualization and vibrotactile control testing/debugging. It doesn't have the Companion App's reconfigurable task/policy system.
Both apps are currently Android-only. For best Bluetooth reliability, we recommend using an Android phone with Bluetooth 5.3 or newer. Our testing uses a Google Pixel 9A.
Installing an APK
Neither app is published on the Play Store, so install by sideloading the APK directly:
- On your Android phone, open the app's APKs folder on GitHub (Companion App or Debugger App), tap the
.apkfile to open its page, then use the download button (or View raw) to download it. - Open the downloaded file. If prompted, allow installation from this source under Settings.
- Tap Install.
- Grant Bluetooth and location permissions when the app first asks for them.
Companion App
The Companion App is the full-featured app for connecting to Stickies, running preconfigured tasks, and building your own tasks from scratch. For a brief walkthrough (1:50–3:12) covering connecting to Stickies through running a session, see this video.
Get the Stickies (yellow for sensing, blue for feedback) ready and connect them to the batteries. Leave the switches off.
Connect to the App
- Open the Sensorimotor Stickies Android app.
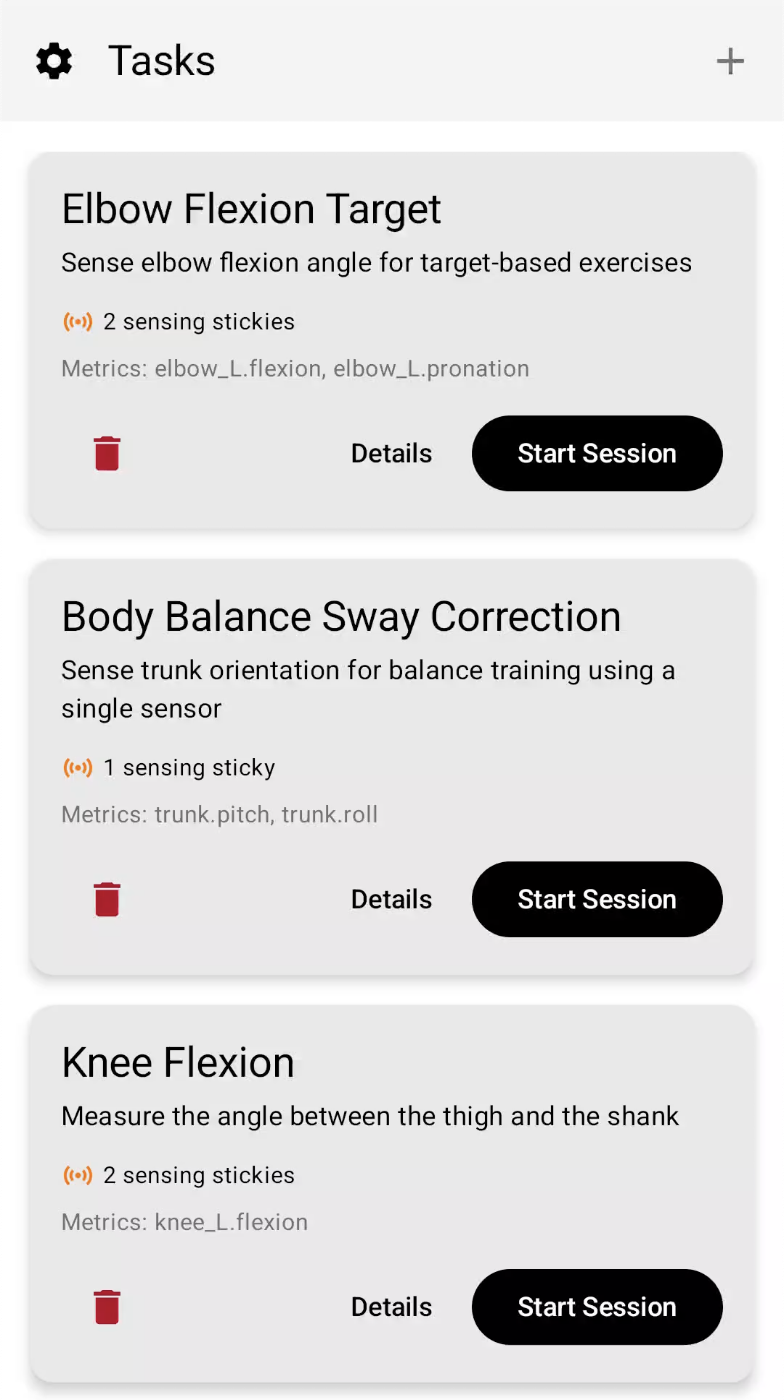
- For new users, we recommend selecting an existing task instead of creating a new one first. (Example: Body Balance Sway Correction.)
- Select Start Session.
- Turn on one Sticky at a time — the LED should blink blue.
- Find that Sticky's name on the Device Setup page:
SENSEfor sensing stickies,FBfor feedback stickies.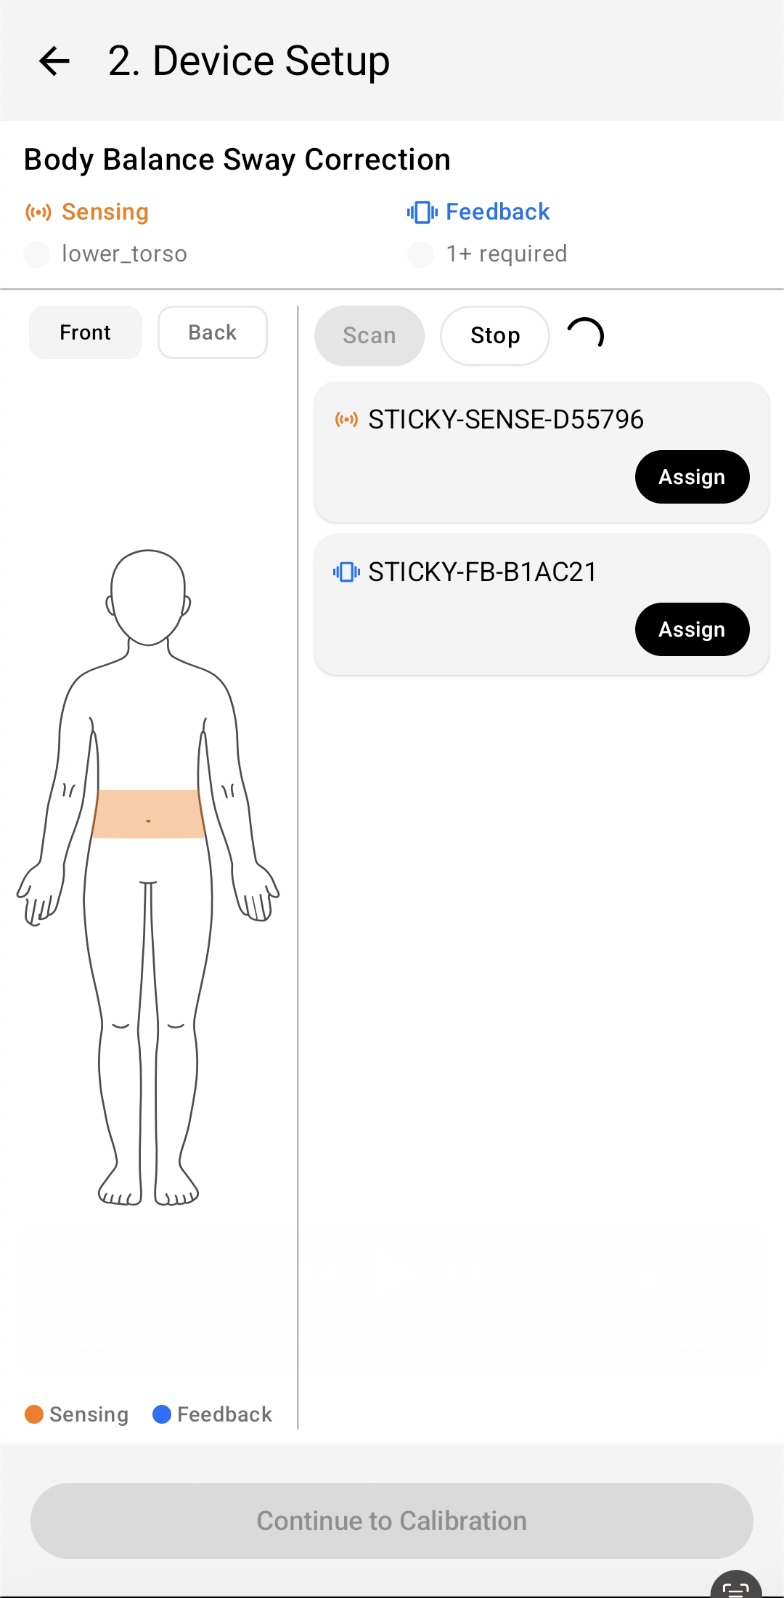
- Select Assign and assign that Sticky on the target limb to a body position from the dropdown menu.
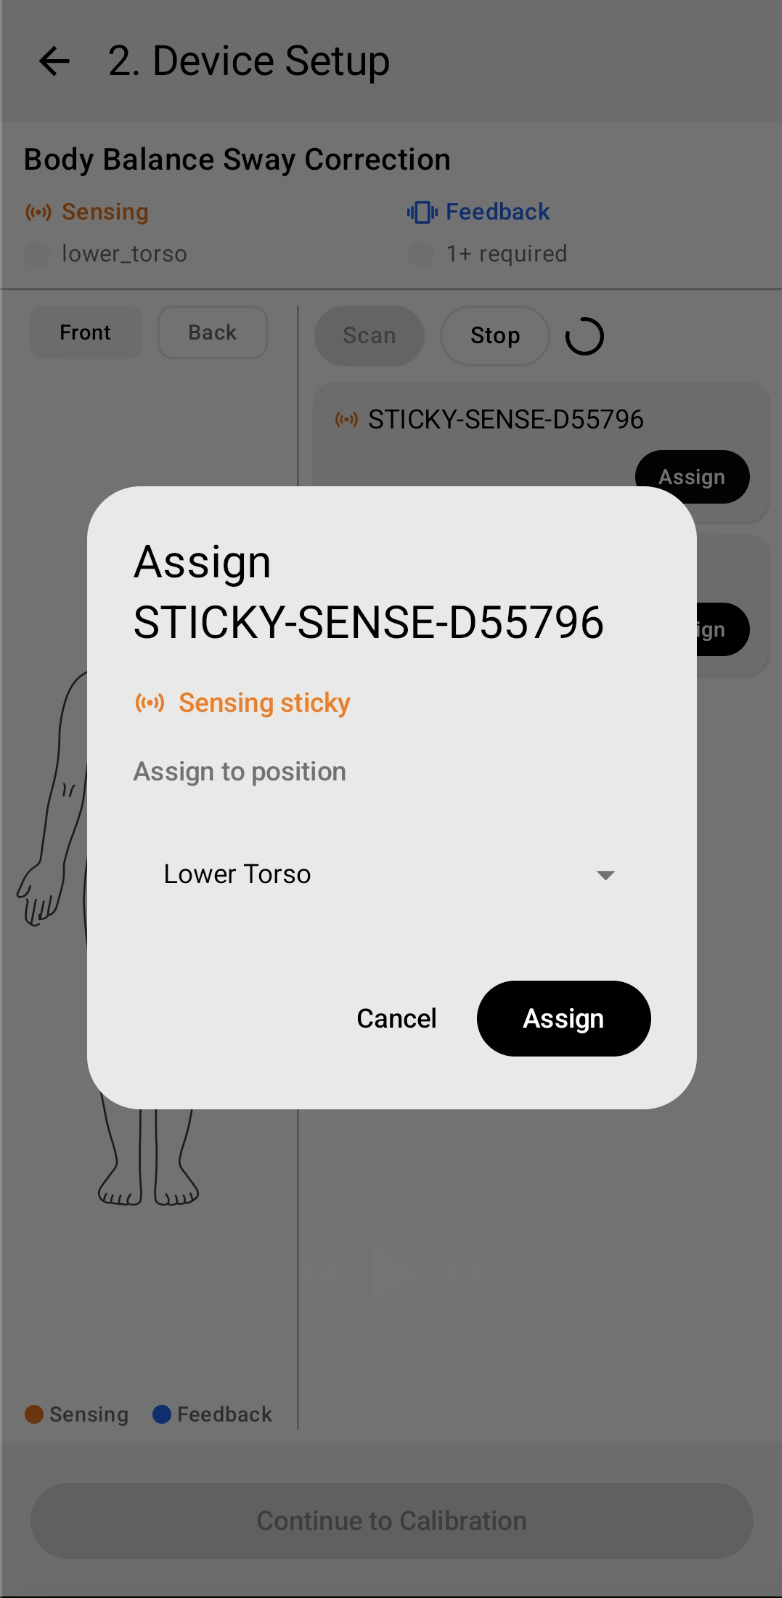
- After assigning it, turn on the next Sticky and repeat the same process. Connecting Stickies one by one helps avoid confusing devices during setup.
Please refer to Attaching to the Body for guide to attach the Stickies onto your body.
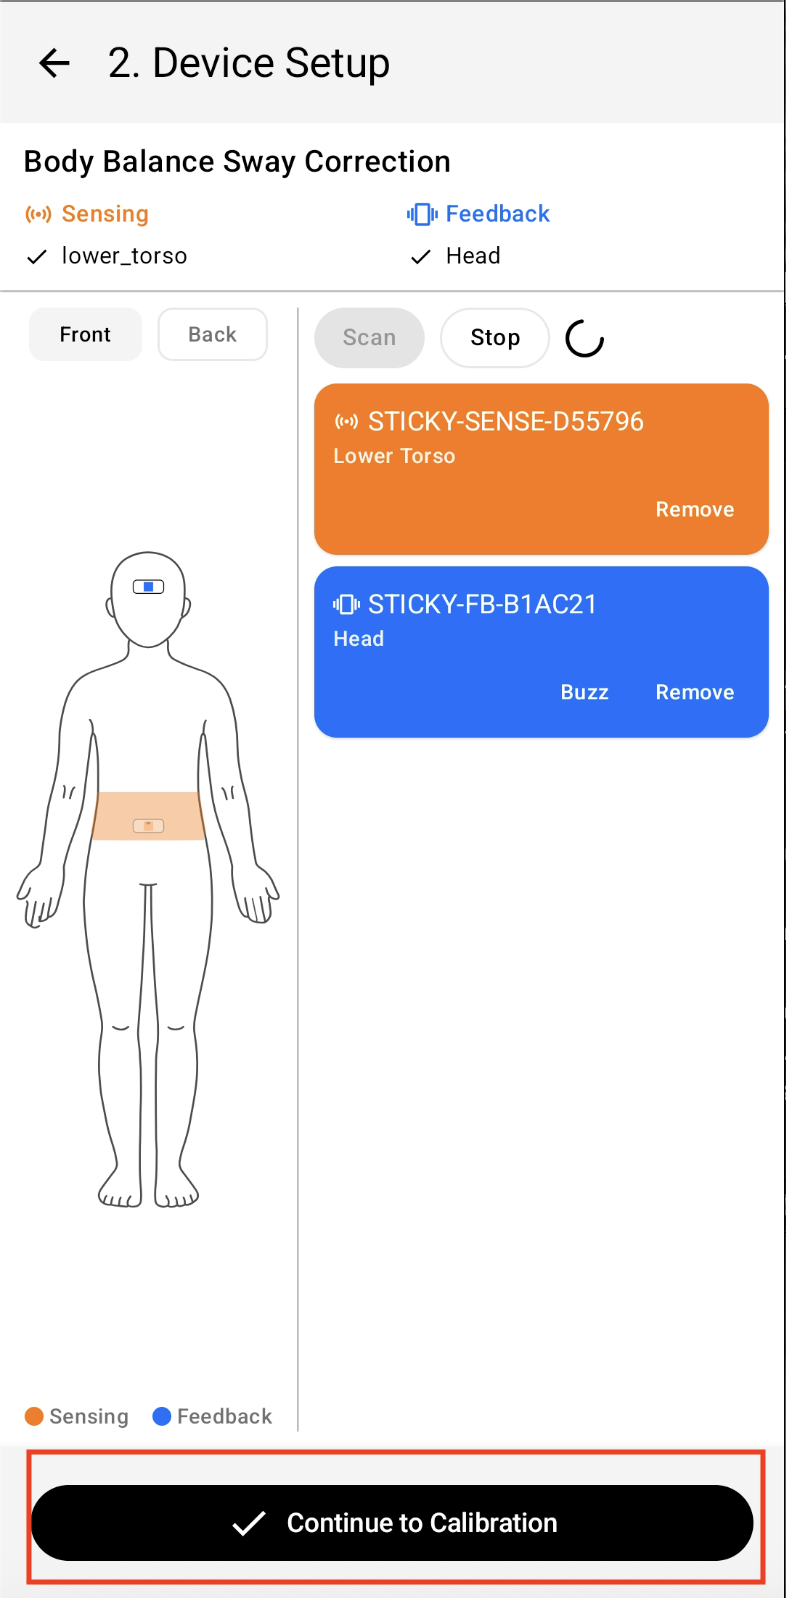
- Once every Sticky is assigned, select Continue to Calibration.
Calibration (example: Body Balance Sway Correction)
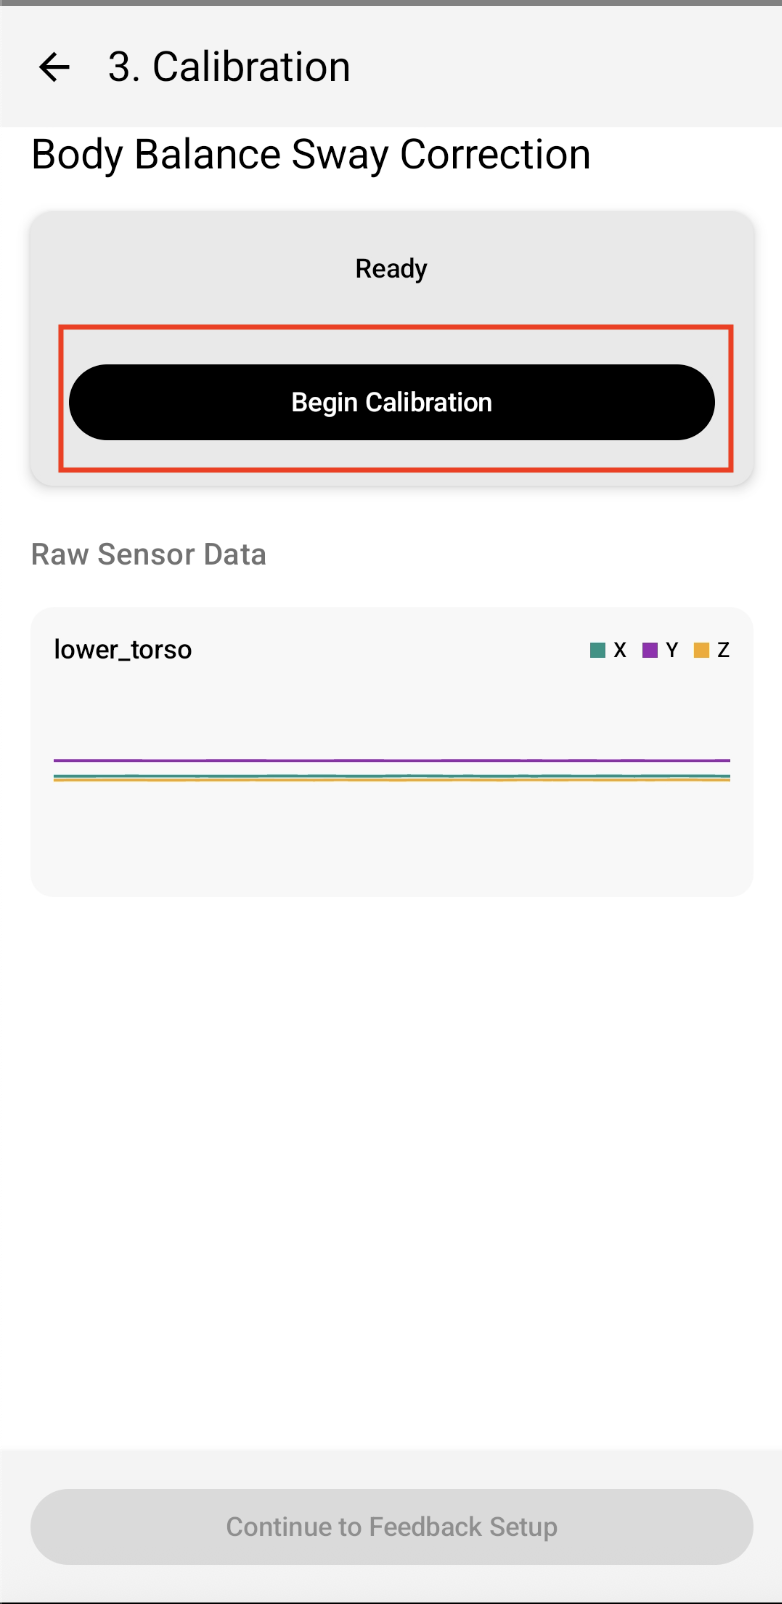
- Select Begin Calibration.
- Read the on-screen instructions and select Start.
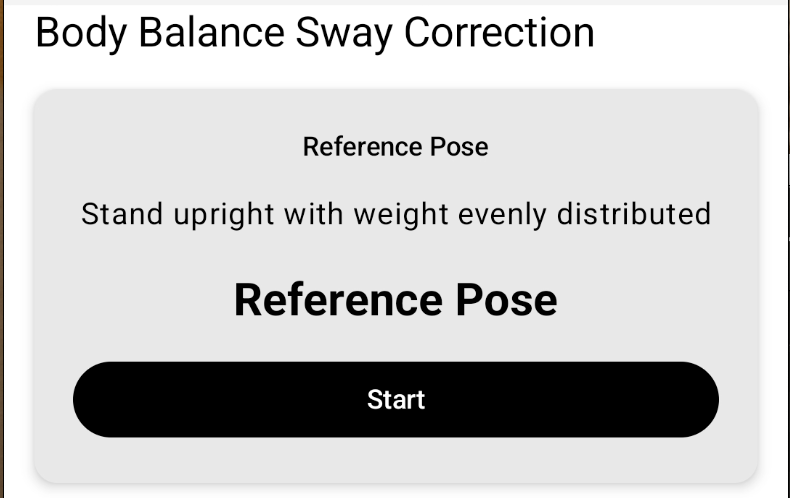
- In this example, stand upright with weight evenly distributed and hold for 3 seconds.
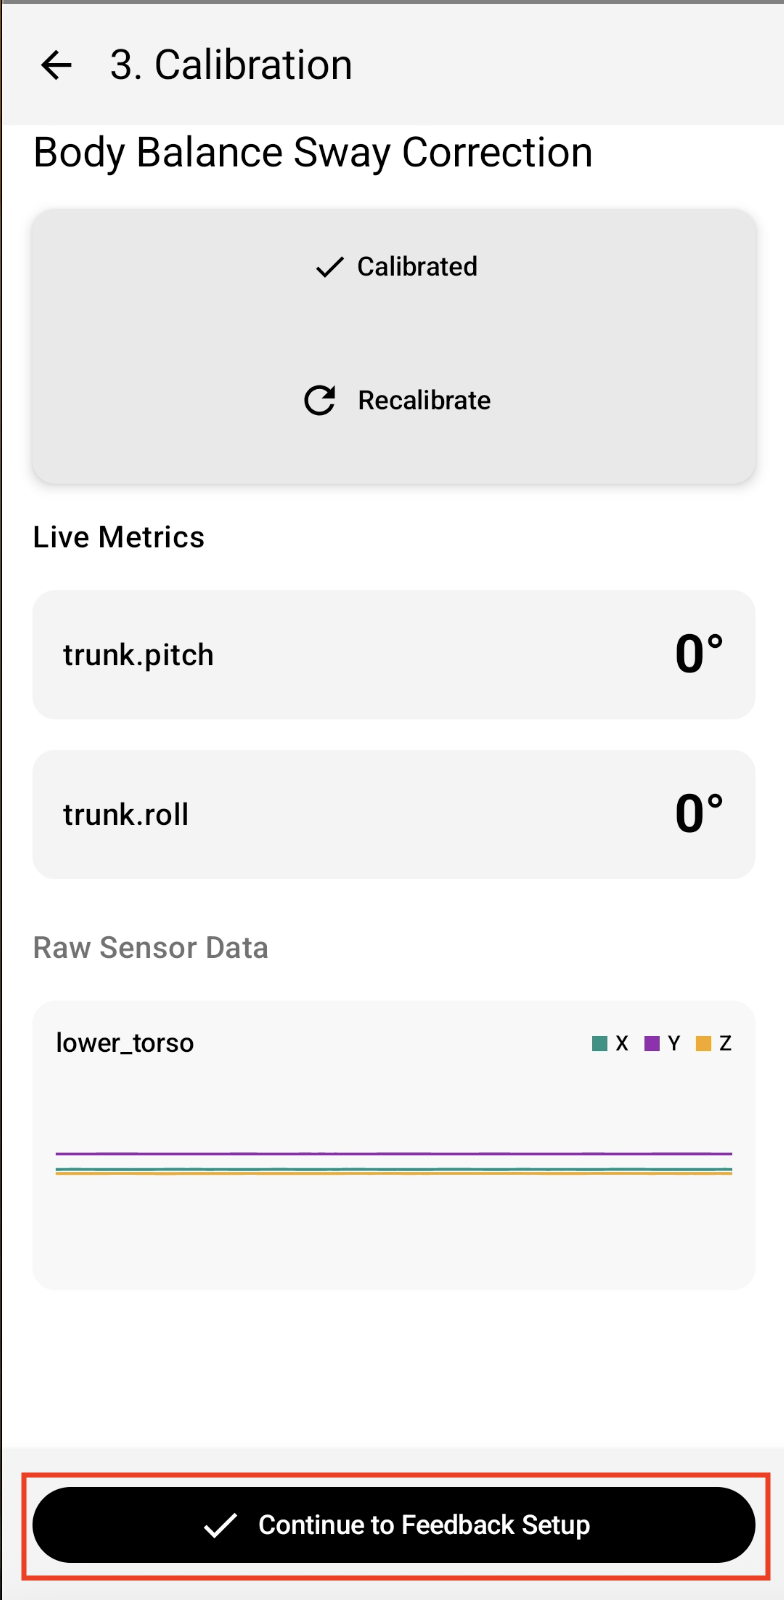
- Once calibrated, select Continue to Feedback Setup.
- Select a policy — for this task, use the Default policy.
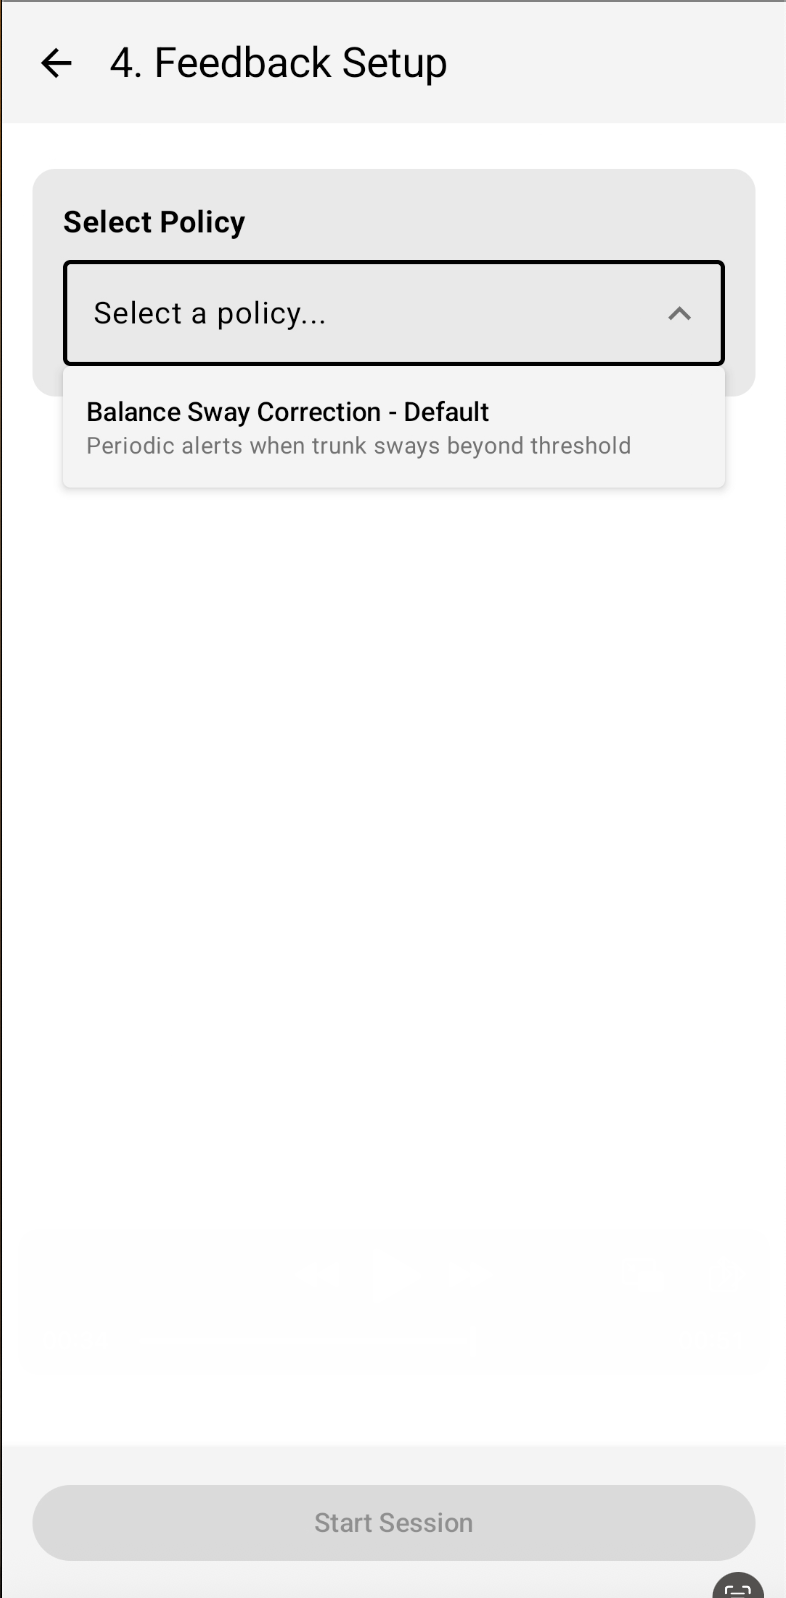
- Select Start Session, then Start, to begin the task. You should feel vibration feedback when the body is balanced.
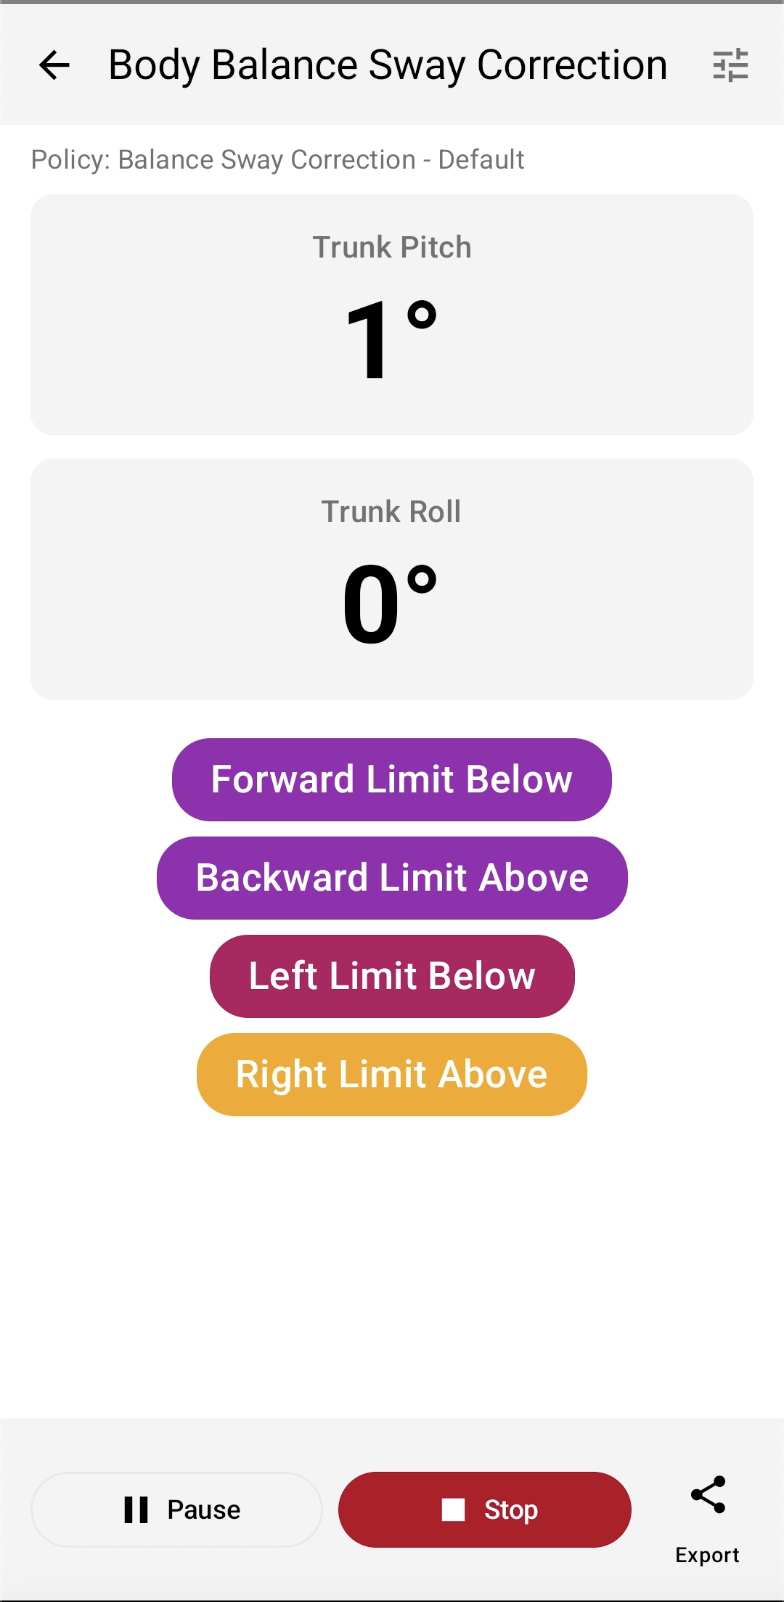
Customization
Create a Customized Task
- Select the + icon in the top-right corner of the Tasks menu.
- Enter a task name and description.
- Select Add Metric to add a measurement type:
- Joint Angle — the angle between two body segments.
- Segment Tracking — orientation, angular velocity, and linear acceleration of a single segment.
- Tactile Pressure — pressure and its distribution from a tactile patch.
- Select the target body placement, then select Add This Metric.
- Review the "Required Sensors" for your selection, and prepare the sensing Stickies you'll need before the next step.
- Enter a calibration instruction.
- Select a hold duration for the calibration setup.
- Save, then create a feedback policy.
Create a Customized Policy
- Select Create Policy.
- Enter a policy name and description.
- Under the Target menu, define the range, default value, and tolerance for the metric.
- Advanced — Custom States: define custom metric conditions, combining sensing states with AND/OR.
- Advanced — Custom Feedback Patterns: beyond the defaults (single tap, double tap, etc.), define custom vibration duration and count.
- Add rules — select the condition that should trigger feedback.
- Save the feedback policy. The task is now ready to use.
Debugger App
The Debugger App is a lightweight BLE tool for quickly visualizing sensing signals (IMU and tactile) and testing vibrotactile feedback commands — useful for hardware bring-up and debugging. It doesn't have the Companion App's reconfigurable task and feedback policy system, so it's not meant for running actual training sessions; use the Companion App above for that.
The entire implementation for the Debugger App is open source: see the StickyDebugger source on GitHub.